Showing posts with label diy. Show all posts

Wednesday, May 10, 2017

Can I Do That: Eye Nail Art


I constantly see things online that I'd love to have, but that I can't afford. Clothing, hair colors, nail designs, home decor, etc. all haunt me as I scroll through Instagram. It's no secret that I love DIYs, but what if I can't find a DIY to satisfy my needs? I'm starting a new series called "Can I Do That?" in which I try to imitate cool things that I want on the internet. In this premiere post, I'm inspired by Amanda Smith's amazing nail art, shown below.


I'm starting off with a fresh set of nails. I had to scramble to find the nail polishes I needed for this project, and ended up borrowing one of the colors from one of my roommates. Perks of living with 4 roommates, I guess.

Step 1: Gold


I can definitely do this. I've painted my nails with this color dozens of times, as you might be able to tell from the worn-off label. It's an old L.A. Colors color that closely resembles this Essie color.

Step 2: The Whites of Their Eyes


This is where it starts to get tricky. The only white polish I had was this Sally Hansen nail art pen, which isn't meant to thoroughly cover an area of your nail. So, the white part is a little uneven, even after going over the area a couple times.

Step 3: Eyelashes


This is where things really started to go south. I love this black color, but I didn't use it very well. I don't know what possessed me to buy these nail poorly-designed nail art brushes, but they're definitely not meant to paint on nail polish in the ways I needed them to. Plus, anyone who's ever painted their nails before knows that it's a serious struggle to paint your dominant hand using your non-dominant hand. I'm too embarrassed to show you all what my right hand even looked like at the end of all this.


Can I Do That? Verdict: Actually, I kind of could... On my left hand, at least. Some of the eyes look a little droopy and the eyelashes aren't even, but it looks pretty good from far away. If you're ambidextrous and/or have any significant experience painting your own nails, I'd give this a go. Otherwise, take the nail art slow.

Thursday, April 13, 2017

DIY Review: Tangle-Free Headphones


I'm tired of my life being a meme. I found this DIY tutorial for tangle-free headphones on Society19, so hopefully now I can put my headphones in my backpack without stressing about what they're going to look like when I take them back out.

Materials:
-Anything with a cord. I'm using my headphones, and if it's a good DIY, I'm going to use it on my phone charger.
-Embroidery floss
-Clear nail polish or hot glue


Step 1: Tie a long piece of embroidery floss (about 3x the length of the cord you're covering) to the top of the cord. If you're familiar with the Chinese Staircase knot, that's what you need to do. If not, really all you're going to be doing is tying a knot with the embroidery floss around the cord. Easy peasy!


Step 2: When you've finished wrapping the cord, cut off any loose thread and apply some clear nail polish to both ends of the wrap.


Step 3: Repeat as necessary. Voila!

This was such an easy tutorial. It might have helped that I used this knot technique to make everything from bracelets to hair wraps when I was young. So far, my headphones have remained tangle free. They do twist around each other when I'm wearing them, but I guess that's far preferable to them growing into a knotted mess.

One thing I realized when I finished this DIY is that the wrap might help keep the wires in the cord from fraying. I don't know what I do with my cords that leads to the wires popping out, but at this point I'm desperate to do anything to keep that from happening.

It does look a little ridiculous up-close, but not so ridiculous that I won't wear them. If you're into hair wraps and other crafty gear, you might actually love this look.

DIY Rating: A-

Monday, March 13, 2017

OOTD: Rock 'n' Roll


Pink perspex booties - high-waisted fringe jeans - black mock neck crop top - H&M black moto jacket

In case you couldn't tell by the unevenness of the fringe, I made these pants! Well, I sewed the fringe onto the bottom of a $6 pair of pants that I bought in the men's section of Goodwill. In case you haven't noticed, I love sewing black fringe onto clothing to make something basic look more interesting. It's really easy to do: the whole process took me maybe 45 minutes. You can do it with any trim: velvet, lace, pom poms, etc.


Thursday, March 2, 2017

DIY Review: Washi Tape Nails


I've literally had "paint nails" on my list of things to do since I moved to New York 2 months ago. Since I've had it on my list for so long, I figured I may as well try out a cool new nail DIY to make this chore worth my while. I decided to try this washi tape nail art tutorial from Hello Little Home.

Materials:
- Washi tape
- Top coat (technically you're also supposed to use a base coat, but I just did my base with my top coat)
- Nail file
- Scissors


Step 1: Paint your nails with a base coat.
Step 2: Trim a piece of washi tape to fit your nail.


Step 3: Apply the washi tape to your nail. Make sure to smooth out any bubbles and the edges– you want the tape to stick completely to your nail so that it doesn't start to come off or get water under it when you wash your hands.


Step 4: Trim and file the tape to fit the tip of your nail.


Step 5: Cover the washi tape with a top coat. The tutorial calls for multiple coats, but I only used one because the nail polish made the colors on the tape bleed a little.


Voila! I love the way this looks and, immediately following the DIY, am already looking forward to using the rest of the washi tape in my collection in future manicures. However, the manicure lasted three days. It was pretty easy, but was too much effort for such a short reward. I wouldn't do this again unless I wanted an extra-special manicure for a short period of time.

DIY rating: C+

Thursday, February 9, 2017

DIY Valentine's Day Gifts


Let me get straight to the point– I don't like Valentine's Day. It's a made-up holiday that capitalizes on romance and reduces demonstrations of love to those that include materialistic gifts. Plus, I'm single and everyone keeps rubbing my nose in it. But I digress.

If you are not as bitter as I am, Valentine's Day is also a great excuse to remind your special someone– be that a romantic partner, best friend, or family member– just how much you love them. There are many ways to show someone you love them: I love this quiz on love languages that helps you understand how others can best communicate their love for you. If your special someone's love language includes receiving gifts, sometimes going homemade can add a personal and intimate touch. That's where these DIYs come in.

DIY marbleized makeup brushes via A Bubbly Life

Materials:
-Makeup brushes
-Nail polish
-Warm water

This is a relatively inexpensive way to spice up something the makeup lover in your life undoubtedly uses every day.


DIY jarred succulent via Jamielyn at I Heart Naptime

Materials:
-Mason jar
-Succulent
-Ribbon

Who doesn't love a succulent? They're so cute and require hardly any care. Plus, giving a living thing as a gift can prove commitment and trust.


DIY "let's snuggle" pillowcase via Jeran McConnel at Curbly

Materials:
-Freezer paper
-X-acto knife
-Craft paint
-Sponge brush
-Pillowcase

Hypothetically, you can make this say anything you want so long as you create a print-out for it (this blog provides a free "let's snuggle" template).


DIY grapefruit rosemary bath salts via Homey Oh My

Materials:
-Bath salts or Epsom salt
-Pink himalayan salt
-Essential oil (I used grapefruit)
-Rosemary

This gift is quick and easy– perfect for a last-minute Valentine's Day present (but don't let it come to that). You can actually make them smell like anything depending on what kind of essential oil you use; maybe try your partner's favorite scent.


Materials:
-Cane sugar
-Freeze-dried blueberries
-Blue sugar sprinkles
-Virgin coconut oil
-Vanilla extract.

I mean, you really can't go wrong with bath products on Valentine's Day. Winter is a time of year when we all need a little extra self-care, and encouraging this shows that you really care about the recipient of this gift.


DIY ombre calendar via BricoBistro

Materials:
-Paint samples or gift tags
-Small wooden box
-Letter stickers
-C-hooks
-Watercolors
-Paint brushes

Include a list of important days (anniversaries, birthdays, date nights) to add a personalized touch to this super cute gift.


Stay tuned for a post next week on Galentine's Day and the power of non-romantic love!

Thursday, January 26, 2017

DIY Review: Scented Candles


I've been waiting to do this DIY since August, when I bought the supplies. I finally had the opportunity to do it with my family over winter break. I actually made two kinds of candles: one using the tutorial from Yes Missy, and the other that I came up with on my own.


Supplies:


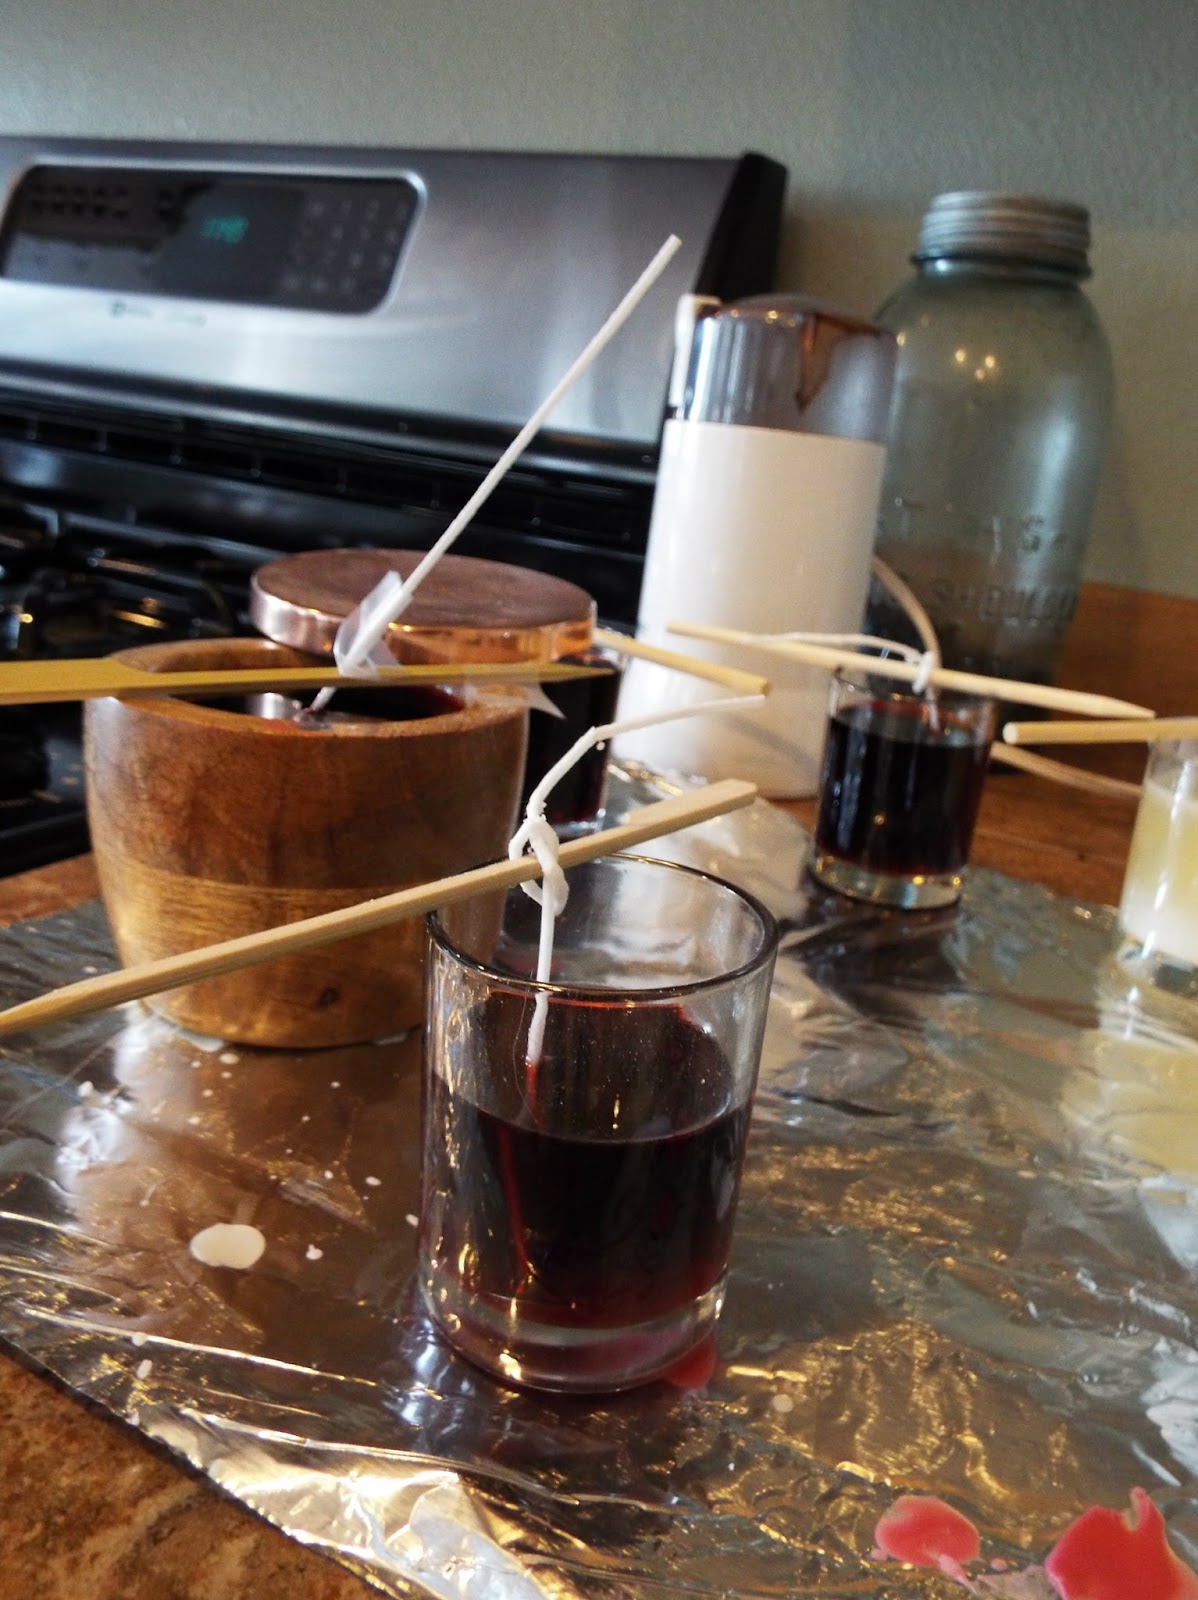
Step 1: Set up the wicks so that they stand up straight. This will ensure that they're straight when you pour in the wax. We used tape and a skewer on one batch, and tied the wick around the skewer for the other batch.


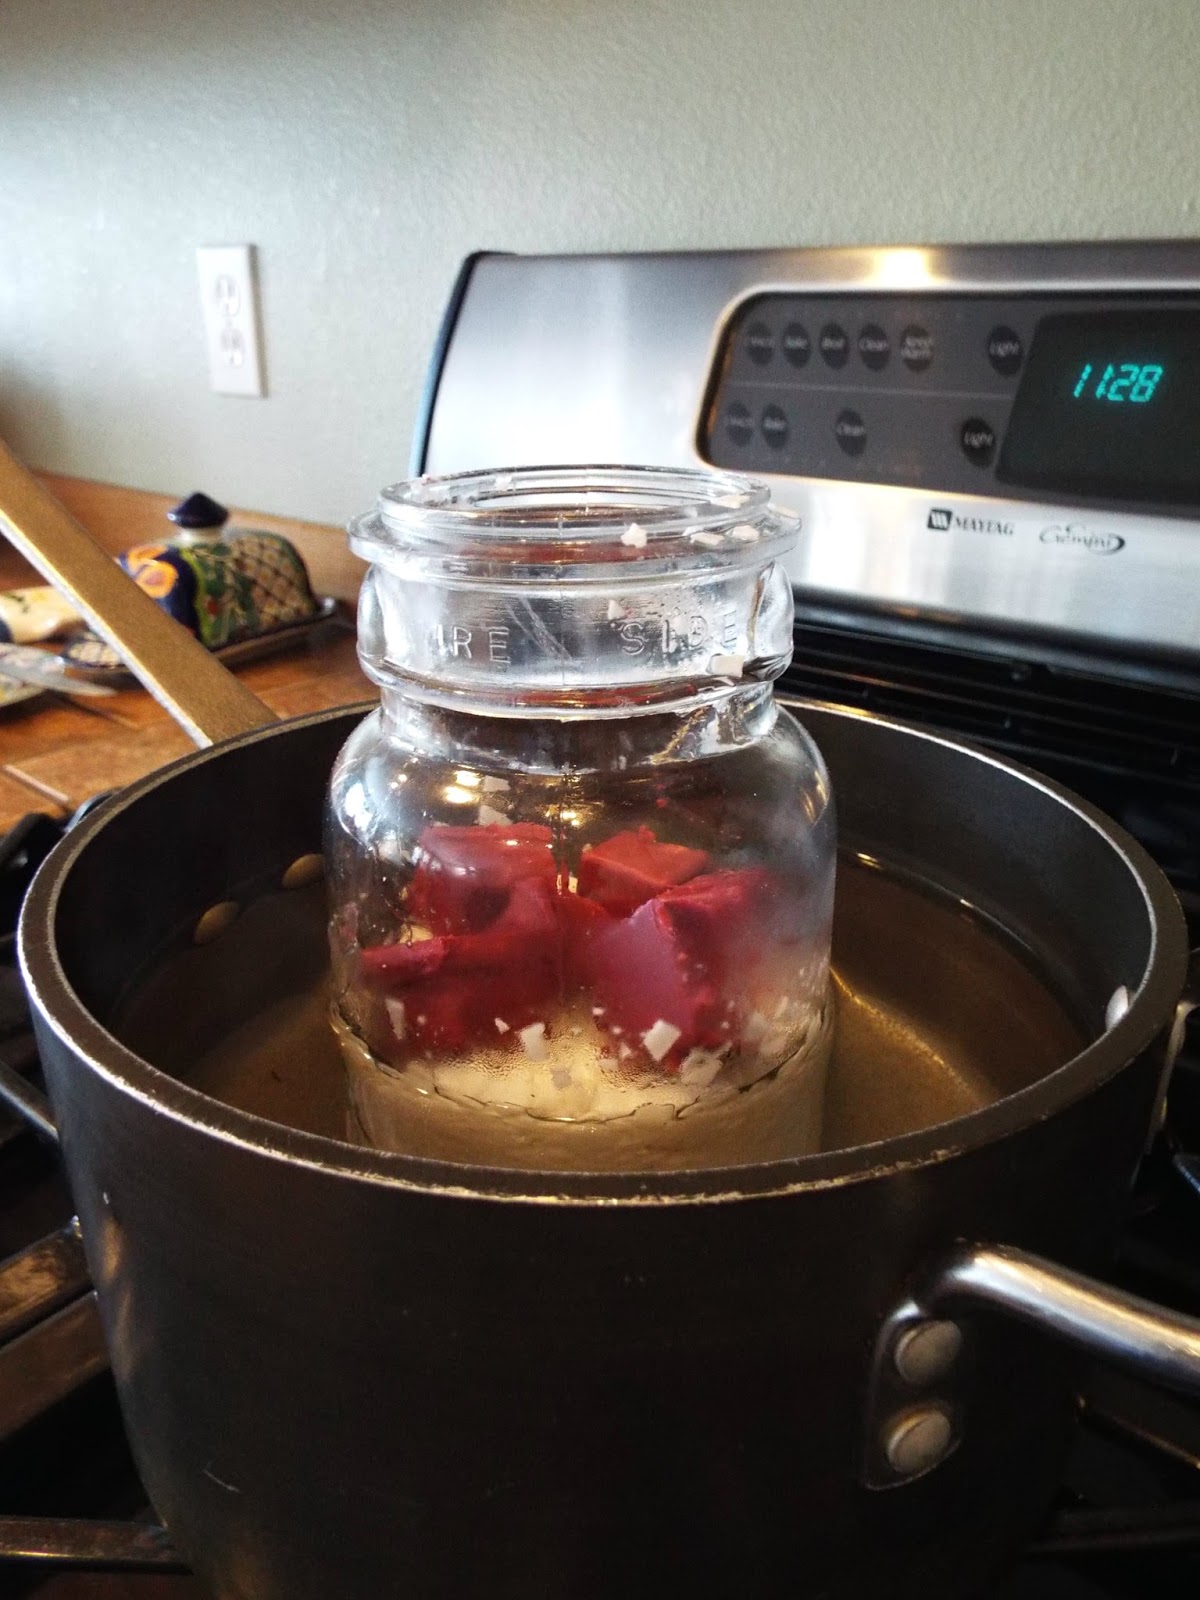
Step 2: Melt the wax. We did this by submerging a large glass of wax into a pot of boiling water. When the wax is mostly melted, put 2-3 drops of the fragrance oil into the wax and stir it around.


Step 3: Pour the wax into the containers. Make sure to do it over a piece of newspaper or aluminum foil so the wax doesn't get everywhere. The wax stops being hot pretty quickly, but takes about 12 hours to cool completely into solid form.


This time around, I used scented wax cubes along with the wax flakes to give the candles a scent without the oil. I used about 2/3rds wax flakes and 1/3rd wax cubes to ensure a strong but not overwhelming scent.


Here's what the wicks look like tied around the skewers. When the wax cools, cut the wicks clean off. 


And voila! Some beautiful scented candles! They were pretty expensive to make, but the ones in the fancy containers were worth it– those can be $25+ at the store.


Thursday, August 25, 2016

DIY: Chokers


I love the choker trend! It's so much fun, super cute, and, most importantly, incredibly easy. I've seen bloggers share chokers with a double (or even triple!) digit price tag. In true Broke & Fabulous form, I headed down to my favorite fabric store to pick up the materials to recreate some of the same looks at a fraction of the price.


Silver faux leather cord (inspired by Kenneth Jay Lane)


- Cord: $2.43 a yard
- Hook and eye: $0.13 ($1.79 per pack of 14)
- Thread: $0.11 ($2.69 for 24 spools)
Total price: $2.67


All you have to do with this is sew the hook and eye onto each end of the cord so it clasps shut!

Velvet locket choker (inspired by Dannijo)


- Velvet: $2.43 per yard
- Locket: $0.75 ($2.99 for 4)
- Hook and eye: $0.13 ($1.79 per pack of 14)
- Thread: $0.11 ($2.69 for 24 spools)
- Jewelry wire cutter: $6.99
Total price: $10.41


Step 1: sew the hook and eye onto each end of the ribbon.


Step 2: use the wire cutters to open the round bail (the part of the pendant that goes over the chain of a necklace). Poke the bail through the velvet. Thread the locket back onto the bail. Use the wire cutters to securely close the bail again.


Floral embroidered choker (inspired by Vanessa Mooney)


- Ribbon: $2.43 a yard
- Hook and eye: $0.13 ($1.79 per pack of 14)
- Thread: $0.11 ($2.69 for 24 spools)


This is another simple one: just sew the hook and eye onto each end of the ribbon.

Gold end wrap choker (inspired by Humble Chic)


- Braided cord: $1.76 ($0.88 per yard)
- Thread: $0.11 ($2.69 for 24 spools)
- Thin copper wire: $6.99
Total cost: $8.86


Wrap the wire around each end of the cord.

Check out these other choker tutorials by We Made It, Fancy Made, High on DIY, and A Pair and a Spare. Or, simply tie a ribbon around your neck like I've done on at least one occasion (realistically, more like eight or nine times).